Self-Hosted Push Notifications: ntfy and apprise on Proxmox
June 3, 2026Tutorials
A complete walkthrough for setting up ntfy and apprise on Proxmox — spin up two dedicated LXCs using community scripts, configure authentication, wire apprise to ntfy, and expose ntfy publicly via Caddy reverse proxy.
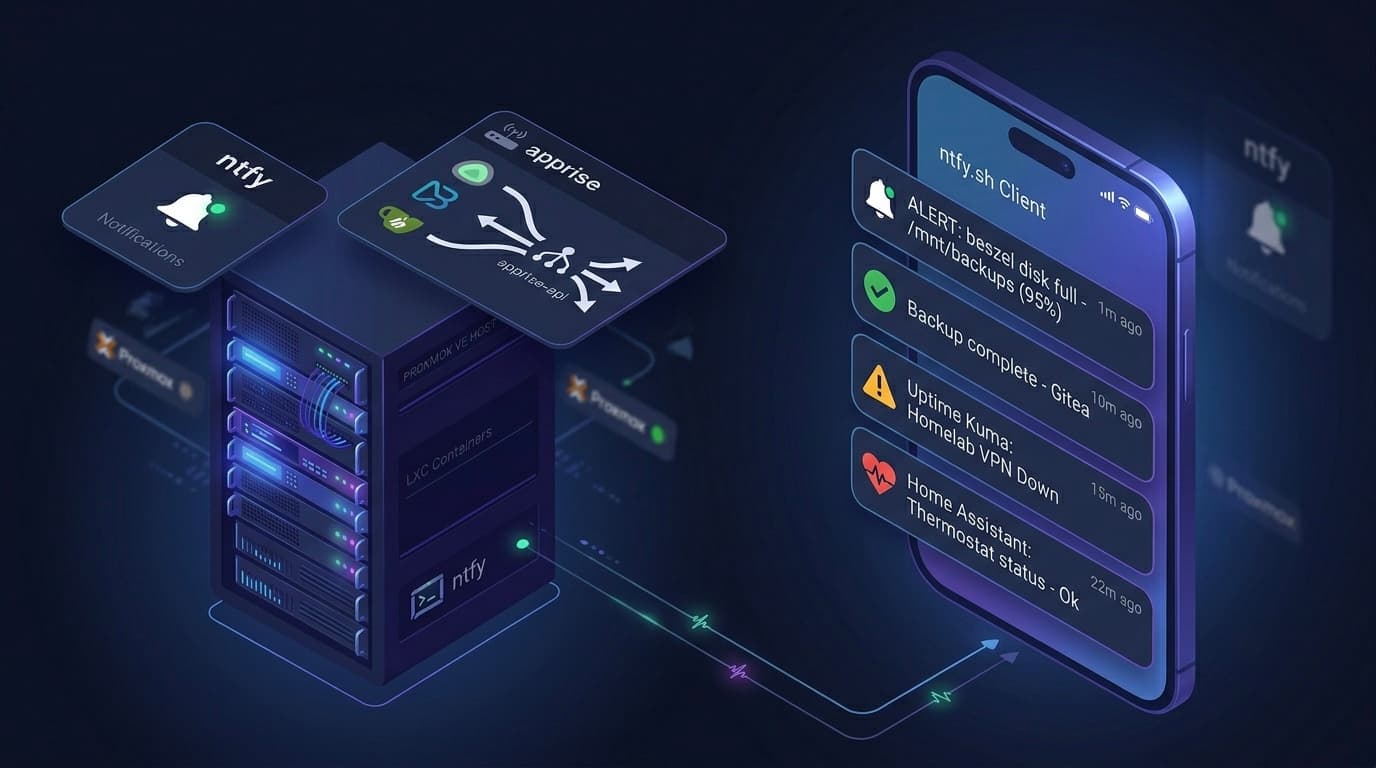
If you're running a Proxmox homelab, you eventually want a way to get push notifications when something happens — a service goes down, Beszel fires an alert, a backup completes. This guide sets up two pieces that work together: ntfy as the push notification server (the thing that pings your phone), and apprise-api as the notification router (the thing that receives alerts from your services and forwards them to ntfy). Two dedicated LXCs, both installed via community scripts, clean separation of concerns.
System Reference
| Property | Value |
|---|---|
| Proxmox host IP | 192.168.0.X |
| ntfy LXC IP | 192.168.0.158 |
| ntfy port | 80 (internal), 443 via Caddy |
| ntfy public URL | https://ntfy.your-domain.com |
| apprise LXC IP | 192.168.0.159 |
| apprise port | 8000 |
| ntfy version | 2.23.0 |
Why ntfy + apprise and not just ntfy?
ntfy is great for pushing notifications to your phone. But not every service knows how to talk to ntfy directly — some speak webhook, some speak email, some speak Slack. apprise is a universal notification library that understands 100+ services and can forward to any of them, including ntfy. The combination means any service on your homelab can POST to apprise, and apprise handles the routing. You configure the destination once in apprise; your services never need to change.
For Uptime Kuma this is overkill — it has native ntfy support. But for Beszel, custom scripts, or anything else that doesn't speak ntfy natively, apprise is the bridge.
Part 1 — Create the ntfy LXC
Run this from the Proxmox Shell:
bash -c "$(curl -fsSL https://raw.githubusercontent.com/community-scripts/ProxmoxVE/main/ct/ntfy.sh)"Choose Advanced Install and use these values:
| Prompt | Value |
|---|---|
| Container type | Unprivileged |
| Container ID | 158 |
| Hostname | ntfy |
| Disk size | 6 GB |
| CPU cores | 1 |
| RAM | 512 MiB |
| IPv4 address | 192.168.0.158/24 |
| Gateway | 192.168.0.1 |
| Timezone | your-timezone (e.g. Asia/Kolkata) (or your local timezone) |
Expected output
✔️   Completed successfully!
🚀  ntfy setup has been successfully initialized!
💡   Access it using the following URL:
    🌐  http://192.168.0.158
ntfy 2.23.0 is now installed and running on Debian 13 inside LXC 158.
Part 2 — Configure ntfy
The default config has everything commented out — no auth, no base URL, no cache. We configure all of this before creating users.
pct exec 158 -- bash
nano /etc/ntfy/server.yml
Replace the entire file with:
base-url: "https://ntfy.your-domain.com"

listen-http: ":80"

cache-file: "/var/cache/ntfy/cache.db"
cache-duration: "12h"

auth-file: "/var/lib/ntfy/user.db"
auth-default-access: "deny-all"

behind-proxy: true

upstream-base-url: "https://ntfy.sh"

attachment-cache-dir: "/var/cache/ntfy/attachments"
attachment-total-size-limit: "1G"
attachment-file-size-limit: "15M"
attachment-expiry-duration: "24h"

enable-login: true
enable-signup: false

log-level: info
log-format: text
What each key does:
base-url— the public URL ntfy uses to construct notification links and iOS poll requestsauth-default-access: deny-all— no anonymous access; every subscriber and publisher needs credentialsbehind-proxy: true— tells ntfy to trust theX-Forwarded-Forheader from Caddy for correct rate limitingupstream-base-url— enables timely iOS push notifications; ntfy forwards a poll request to ntfy.sh which wakes up the iOS app via Firebase, your message content never leaves your serverenable-signup: false— only you can create users, via CLI
Now create the required directories and set ownership:
mkdir -p /var/cache/ntfy/attachments
chown -R ntfy:ntfy /var/cache/ntfy
chown -R ntfy:ntfy /var/lib/ntfy
Restart and verify:
systemctl restart ntfy
systemctl status ntfy
You should see active (running) with around 12MB RAM used.
Part 3 — Create Users
ntfy uses a local SQLite database for users. We need two: an admin for the web UI and manual access, and a publisher service account that apprise and other services will use to send notifications.
ntfy user add --role=admin <your-username>
ntfy user add publisher
The publisher account gets user role by default, which means no topic access until we grant it. Give it write-only access to all topics — it only needs to send, never subscribe:
ntfy access publisher "*" writeVerify the setup looks correct:
ntfy user listExpected output:
user <your-username> (role: admin, tier: none)
- read-write access to all topics (admin role)
user publisher (role: user, tier: none)
- write-only access to topic *
user * (role: anonymous, tier: none)
- no topic-specific permissions
- no access to any (other) topics (server config)
Three entries: your admin, the publisher service account, and the anonymous wildcard locked to deny-all from the server config.
Part 4 — Caddy Reverse Proxy
ntfy needs to be publicly accessible for iOS push notifications to work. Jump into LXC 152 and add a block to the Caddyfile:
pct exec 152 -- bash
nano /etc/caddy/Caddyfile
Add this block alongside your existing entries:
ntfy.your-domain.com {
    reverse_proxy http://192.168.0.158:80

    @httpget {
        protocol http
        method GET
        path_regexp ^/([-a-z0-9]{0,64}$|v1/health|v1/stats|v1/metrics)
    }
    redir @httpget https://{host}{uri}
}
The @httpget matcher redirects plain HTTP GET requests (like browser navigation) to HTTPS, while allowing ntfy's internal HTTP polling to work correctly.
Reload Caddy:
systemctl reload caddyPart 5 — Test ntfy on Your Phone
Install the ntfy app (Play Store, F-Droid, or App Store), then add a subscription:
- Server URL:
https://ntfy.your-domain.com - Topic:
homelab - Username / Password: your admin credentials
Then fire a test notification from the Proxmox host shell:
curl -u publisher:<publisher-password> \
  -d "ntfy is alive on the homelab" \
  -H "Title: Test from LXC 158" \
  -H "Priority: default" \
  -H "Tags: white_check_mark" \
  http://192.168.0.158/homelab
You should receive a push notification within a second or two. The curl response will look like:
{
  "id": "mo1rb04uHoqB",
  "time": 1780404581,
  "expires": 1780447781,
  "event": "message",
  "topic": "homelab",
  "title": "Test from LXC 158",
  "message": "ntfy is alive on the homelab",
  "priority": 3,
  "tags": ["white_check_mark"]
}
ntfy is fully working at this point.
Part 6 — Create the apprise LXC
Run this from the Proxmox Shell:
bash -c "$(curl -fsSL https://raw.githubusercontent.com/community-scripts/ProxmoxVE/main/ct/apprise-api.sh)"Use these values:
| Prompt | Value |
|---|---|
| Container type | Unprivileged |
| Container ID | 159 |
| Hostname | apprise |
| Disk size | 6 GB |
| CPU cores | 1 |
| RAM | 512 MiB |
| IPv4 address | 192.168.0.159/24 |
| Gateway | 192.168.0.1 |
| Timezone | your-timezone (e.g. Asia/Kolkata) (or your local timezone) |
Expected output
✔️   Completed successfully!
🚀  Apprise-API setup has been successfully initialized!
💡   Access it using the following URL:
    🌐  http://192.168.0.159:8000
The community script installs apprise-api under supervisord, running nginx as a reverse proxy in front of gunicorn with 3 workers. Total RAM at idle is around 158MB.
Verify it came up correctly:
pct exec 159 -- systemctl status apprise-apiYou should see active (running) with supervisord as the main process managing nginx and gunicorn workers.
Part 7 — Configure apprise to Route to ntfy
Jump into LXC 159 and create the notification config:
pct exec 159 -- bash
mkdir -p /opt/apprise/config
Create a config file pointing to ntfy. We use the internal LAN IP directly — apprise and ntfy are on the same 192.168.0.x network, so there's no reason to go through Caddy or Tailscale:
cat > /opt/apprise/config/homelab.yml << 'EOF'
version: 1
urls:
  - ntfy://publisher:<publisher-password>@192.168.0.158:80/homelab
EOF
Note on special characters in passwords: If your publisher password contains
@or other URL special characters, URL-encode them.@becomes%40,#becomes%23. To avoid this entirely, use a password with only alphanumeric characters for service accounts.
Test the pipeline:
apprise \
  --config /opt/apprise/config/homelab.yml \
  --title "Test from apprise" \
  --body "apprise → ntfy pipeline working" \
  -v
Check your phone — you should receive the notification. You can also verify on the ntfy side:
pct exec 158 -- curl -u <admin-user>:<password> http://192.168.0.158/homelab/jsonYou'll see the message in the JSON stream with the apprise icon URL included.
Part 8 (Optional) — Caddy Reverse Proxy for apprise
apprise-api has a web UI that's useful for testing notification URLs and managing configs. Expose it on your internal network via Caddy:
pct exec 152 -- bash
nano /etc/caddy/Caddyfile
Add:
apprise.your-domain.com {
    reverse_proxy http://192.168.0.159:8000
}
Reload Caddy:
systemctl reload caddyapprise-api is now accessible at https://apprise.your-domain.com. Keep this internal — there's no built-in auth on the apprise-api web UI.
What You End Up With
| Component | Location | Purpose |
|---|---|---|
| ntfy | LXC 158 (192.168.0.158:80) | Push notification server |
| ntfy (public) | https://ntfy.your-domain.com | iOS/Android push delivery |
| apprise-api | LXC 159 (192.168.0.159:8000) | Notification router |
| apprise (public) | https://apprise.your-domain.com | Web UI for config management |
Any service on your homelab can now POST to apprise at http://192.168.0.159:8000 and the notification lands on your phone. The apprise config lives in /opt/apprise/config/homelab.yml — add more destinations (Telegram, email, Discord) there without touching any of your services.
What's Next
Integrating Beszel and Uptime Kuma
With ntfy and apprise running, the next step is wiring up your existing monitoring stack. Uptime Kuma has native ntfy support — point it directly at http://192.168.0.158 with your publisher credentials and a topic. Beszel uses a webhook-style notification that routes through apprise. Both will be covered in the next post.
From a Dead Laptop to a Running Homelab
How a broken HP Pavilion sparked a journey into enterprise-grade home infrastructure.
Homelab Alerts on Your Phone: Integrating Beszel and Uptime Kuma with ntfy
Wire up Beszel and Uptime Kuma to send push notifications through ntfy. Configure Shoutrrr URLs for Beszel, native ntfy integration for Uptime Kuma, set meaningful alert thresholds, and harden everything with access tokens instead of passwords.