Self-Hosted Obsidian Sync: CouchDB + LiveSync on Proxmox
June 17, 2026Tutorials
A complete walkthrough for syncing Obsidian across Mac and iPhone using a self-hosted CouchDB instance running in Docker on a Proxmox LXC, with E2E encryption and automated Google Drive backup.
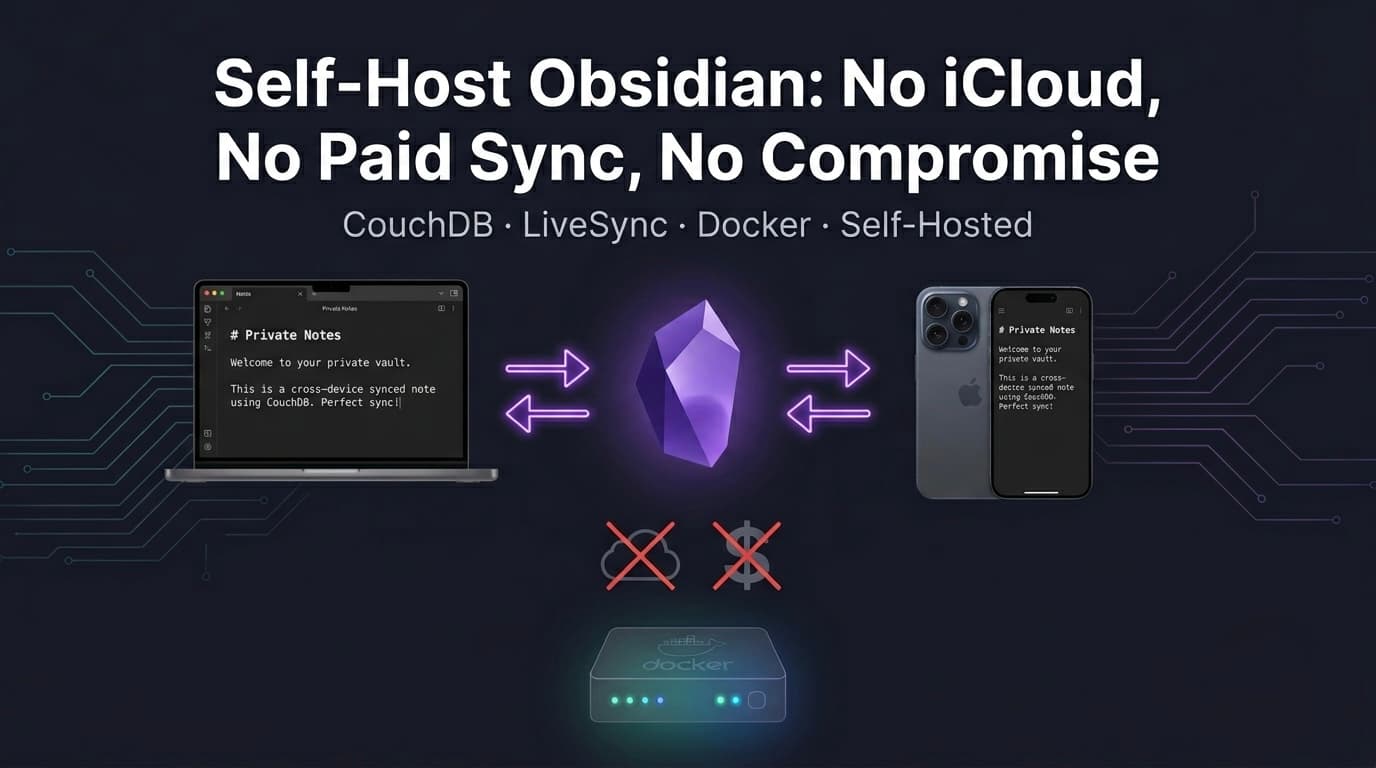
Obsidian Sync costs $4–8/month. If you already run a homelab, you can do the same thing for free — with end-to-end encryption, automated backups to Google Drive, and full control over your data.
This guide sets up a self-hosted CouchDB instance in Docker on a Proxmox LXC, exposes it via Caddy with a valid SSL cert, and connects it to Obsidian on Mac and iPhone using the Self-hosted LiveSync plugin.
System Reference
| Property | Value |
|---|---|
| Proxmox host IP | 192.168.0.150 |
| Docker LXC ID | 163 |
| Docker LXC IP | 192.168.0.163 |
| HDD mount path | /mnt/hdd |
| Obsidian data path (host) | /mnt/hdd/shared/obsidian |
| Obsidian data path (LXC) | /mnt/shared/obsidian |
| CouchDB URL | https://vault.YOUR_DOMAIN.com |
| CouchDB version | 3.5.2 |
Part 1 — Create the Docker LXC
We use the community script to provision a Docker-ready LXC. Run this on the Proxmox host:
bash -c "$(wget -qLO - https://github.com/community-scripts/ProxmoxVE/raw/main/ct/docker.sh)"When prompted, select Advanced and configure as follows:
| Setting | Value |
|---|---|
| CT ID | 163 |
| Hostname | docker-host |
| RAM | 2048 MB |
| CPU cores | 2 |
| Disk | 20 GB |
| IP | 192.168.0.163/24 |
| Gateway | 192.168.0.1 |
| Unprivileged | Yes |
| Nesting | Yes (required for Docker) |
When asked about Portainer, select Yes — it gives you a web UI to manage containers at https://192.168.0.163:9443.
When asked about Docker TCP socket, select No — exposing it is a security risk.
The script will install Docker, configure it as a systemd service, and start the LXC.
Part 2 — HDD Mount and Backup Setup
Step 2.1 — Create the data directory on the HDD
While the LXC is provisioning, SSH into the Proxmox host and create the directory:
ssh root@192.168.0.150
mkdir -p /mnt/hdd/shared/obsidian
ls -la /mnt/hdd/shared/
Expected output:
total 12
drwxr-xr-x  3 root root 4096 Jun 17 00:00 .
drwxr-xr-x 13 root root 4096 Jun 17 00:00 ..
drwxr-xr-x  2 root root 4096 Jun 17 00:00 obsidian
Step 2.2 — Add the bind mount to LXC 163
Once the LXC is up, add the HDD bind mount:
pct set 163 --mp0 /mnt/hdd/shared/obsidian,mp=/mnt/shared/obsidianVerify it took:
pct config 163 | grep mpExpected output:
mp0: /mnt/hdd/shared/obsidian,mp=/mnt/shared/obsidianRestart the LXC to pick up the mount:
pct restart 163Step 2.3 — Fix directory permissions
CouchDB runs as UID 5984 inside the container. In an unprivileged LXC, UIDs are offset by 100000 on the host, so UID 5984 maps to 105984. Set ownership from the Proxmox host:
chown -R 105984:105984 /mnt/hdd/shared/obsidian
chmod 777 /mnt/hdd/shared/obsidian
ls -la /mnt/hdd/shared/
Expected output:
drwxr-xr-x  3 root   root   4096 Jun 17 00:00 .
drwxr-xr-x 13 root   root   4096 Jun 17 00:00 ..
drwxrwxrwx  2 105984 105984 4096 Jun 17 00:00 obsidian
Step 2.4 — Create the Google Drive backup script
We use rclone sync to mirror the entire /mnt/hdd/shared directory to Google Drive. The sync command (unlike copy) ensures deletions and updates are reflected on Drive — making it a true mirror.
cat > /usr/local/bin/shared-backup.sh << 'EOF'
#!/bin/bash

SHARED_DIR="/mnt/hdd/shared"
GDRIVE_DIR="gdrive:homelab-shared-backup"
LOG="/var/log/shared-backup.log"
DATE=$(date '+%Y-%m-%d %H:%M:%S')

echo "[$DATE] Starting shared backup" >> $LOG

rclone sync "$SHARED_DIR" "$GDRIVE_DIR" \
    --transfers 4 \
    --log-file "$LOG" \
    --log-level INFO

if [ $? -eq 0 ]; then
    echo "[$DATE] Shared backup complete" >> $LOG
else
    echo "[$DATE] ERROR: Shared backup failed" >> $LOG
fi
EOF

chmod +x /usr/local/bin/shared-backup.sh
Create the target folder on Google Drive:
rclone mkdir gdrive:homelab-shared-backup
rclone lsd gdrive:
Expected output (among other folders):
-1 2026-06-17 00:01:50 -1 homelab-shared-backupAdd the cron job:
crontab -eAdd this line:
# Shared folder backup to GDrive — daily at 3AM
0 3 * * * /usr/local/bin/shared-backup.sh
Part 3 — CouchDB in Docker
SSH into LXC 163:
ssh root@192.168.0.163Step 3.1 — Create the Compose stack
mkdir -p /opt/stacks/couchdb/couchdb-etc
chmod 777 /opt/stacks/couchdb/couchdb-etc

cat > /opt/stacks/couchdb/docker-compose.yml << 'EOF'
services:
  couchdb:
    image: couchdb:latest
    container_name: couchdb-for-ols
    user: 5984:5984
    environment:
      - COUCHDB_USER=admin
      - COUCHDB_PASSWORD=your_password_here
    volumes:
      - /mnt/shared/obsidian:/opt/couchdb/data
      - /opt/stacks/couchdb/couchdb-etc:/opt/couchdb/etc/local.d
    ports:
      - "5984:5984"
    restart: unless-stopped
EOF
Replace your_password_here with a strong password. The couchdb-etc volume persists CouchDB's local config across container restarts.
Step 3.2 — Start CouchDB
cd /opt/stacks/couchdb
docker compose up -d
Expected output:
[+] Running 2/2
 ✔ Network couchdb_default    Created   0.0s
 ✔ Container couchdb-for-ols  Started   0.2s
Verify CouchDB is responding:
curl http://admin:your_password_here@localhost:5984Expected output:
{"couchdb":"Welcome","version":"3.5.2","git_sha":"5b4d92103","uuid":"07c34dd0c66f1de7c2bcc1aca2cbd837","features":["access-ready","partitioned","pluggable-storage-engines","reshard","scheduler"],"vendor":{"name":"The Apache Software Foundation"}}Step 3.3 — Run the LiveSync init script
The official LiveSync init script configures all required CORS headers and CouchDB settings:
curl -s https://raw.githubusercontent.com/vrtmrz/obsidian-livesync/main/utils/couchdb/couchdb-init.sh | \
  hostname=http://localhost:5984 username=admin password=your_password_here bash
Expected output:
INFO: defaulting to _local
-- Configuring CouchDB by REST APIs... -->
{"ok":true}
""
""
""
...
<-- Configuring CouchDB by REST APIs Done!
Note: If you see
unauthorizederrors, the account may be temporarily locked from failed attempts. Rundocker compose restartand wait 10 seconds before retrying. Make sure the password in the command exactly matches what's in yourdocker-compose.yml.
Part 4 — Caddy Reverse Proxy
SSH into your Caddy LXC (152) and add the CouchDB reverse proxy entry:
ssh root@192.168.0.152
nano /etc/caddy/Caddyfile
Add this block:
vault.YOUR_DOMAIN.com {
    reverse_proxy 192.168.0.163:5984
}
Reload Caddy:
caddy reload --config /etc/caddy/CaddyfileExpected output:
2026/06/16 19:06:45.663 INFO  using config from file  {"file": "/etc/caddy/Caddyfile"}
2026/06/16 19:06:45.665 INFO  adapted config to JSON  {"adapter": "caddyfile"}
Verify the endpoint is reachable and SSL is working:
curl https://vault.YOUR_DOMAIN.comExpected output (auth enforced — correct):
{"error":"unauthorized","reason":"Authentication required."}Verify with credentials:
curl https://vault.YOUR_DOMAIN.com -u admin:your_password_hereExpected output:
{"couchdb":"Welcome","version":"3.5.2",...}Part 5 — Obsidian on Mac
Step 5.1 — Install the plugin
- Download and install Obsidian if you haven't already
- Open your vault and go to Settings → Community Plugins → Browse
- Search for Self-hosted LiveSync, install and enable it
Step 5.2 — Configure the plugin
The setup wizard will open. Follow these steps:
- Select "I am setting this up for the first time"
- Select "Enter the server information manually"
- Fill in your server details:
- Server URI:
https://vault.YOUR_DOMAIN.com - Username:
admin - Password: your CouchDB password
- Database name:
obsidian
- Server URI:
- Enable End-to-End Encryption and set a strong passphrase — store this in your password manager. If you lose it, your data cannot be decrypted.
- Enable Obfuscate Properties — hides file paths, sizes, and metadata on the server
- Click Proceed through the warning screens
- On the final confirmation screen, check all three boxes and confirm — this sets your Mac vault as the authoritative master copy
Step 5.3 — Configure sync settings
Go to the sync tab (circular arrows icon) and configure:
| Setting | Value |
|---|---|
| Sync Mode | LiveSync |
| Sync on Save | ✅ |
| Sync on Editor Save | ✅ |
| Sync on File Open | ✅ |
| Sync on Startup | ✅ |
| Sync after merging file | ✅ |
| Keep replication active in background | ✅ |
Step 5.4 — Generate a Setup URI
Go to the second tab (person icon) and find "Copy Setup URI". Set a passphrase to encrypt the URI — store this alongside your E2E passphrase. You'll need it to add iPhone (or any future device) in seconds.
Part 6 — Obsidian on iPhone
- Install Obsidian from the App Store
- Create a new vault with the same name as your Mac vault
- Go to Settings → Community Plugins → Browse, search for Self-hosted LiveSync, install and enable it
- When the wizard opens, select "I am adding a device to an existing synchronisation setup"
- Select "Use a Setup URI" and paste the URI copied from Mac
- Enter the URI passphrase when prompted
- When asked, select "Delete local and sync with remote" — this pulls your vault down from CouchDB
- Configure the same sync settings as Mac (LiveSync mode, all toggles on, background replication enabled)
Create a test note on Mac and verify it appears on iPhone within a few seconds.
Part 7 — Test the Backup
Run the backup script manually from the Proxmox host:
/usr/local/bin/shared-backup.sh
cat /var/log/shared-backup.log
Expected output:
[2026-06-17 01:06:42] Starting shared backup
2026/06/17 01:06:47 INFO  : obsidian/_dbs.couch: Copied (new)
2026/06/17 01:06:47 INFO  : obsidian/_nodes.couch: Copied (new)
2026/06/17 01:06:49 INFO  : obsidian/shards/80000000-ffffffff/_replicator.1781636662.couch: Copied (new)
2026/06/17 01:06:49 INFO  : obsidian/shards/80000000-ffffffff/_users.1781636661.couch: Copied (new)
2026/06/17 01:06:50 INFO  : obsidian/shards/00000000-7fffffff/_replicator.1781636662.couch: Copied (new)
2026/06/17 01:06:51 INFO  : obsidian/shards/80000000-ffffffff/obsidian.1781637628.couch: Copied (new)
2026/06/17 01:06:51 INFO  : obsidian/shards/00000000-7fffffff/_users.1781636661.couch: Copied (new)
2026/06/17 01:06:51 INFO  : obsidian/shards/00000000-7fffffff/obsidian.1781637628.couch: Copied (new)
2026/06/17 01:06:51 INFO  :
Transferred:      605.455 KiB / 605.455 KiB, 100%, 86.470 KiB/s, ETA 0s
Transferred:            8 / 8, 100%
Elapsed time:         8.9s
[2026-06-17 01:06:42] Shared backup complete
Verify the files landed on Google Drive:
rclone lsd gdrive:homelab-shared-backupLog File Reference
| Log | Path |
|---|---|
| Shared backup | /var/log/shared-backup.log |
To tail in real time:
tail -f /var/log/shared-backup.logAuto-restart Behaviour
Two levels of restart protection are in place:
- CouchDB container —
restart: unless-stoppedin the Compose file auto-restarts CouchDB if it crashes - Docker daemon — installed as a systemd service by the community script, starts automatically when LXC 163 boots
Verify Docker is enabled on boot:
systemctl is-enabled docker
# enabled
This means the full chain — Proxmox restart → LXC 163 starts → Docker starts → CouchDB starts — is fully automatic.
CouchDB Maintenance
CouchDB uses an append-only storage format and accumulates old document revisions over time. For a personal notes vault this is unlikely to be a problem, but it's worth running compaction occasionally:
curl -X POST https://vault.YOUR_DOMAIN.com/obsidian/_compact \
  -H "Content-Type: application/json" \
  -u admin:your_password_here
Run this monthly or if you notice the /mnt/hdd/shared/obsidian directory growing unusually large relative to your actual vault size.
What You End Up With
After following this guide, your Obsidian sync setup looks like this:
- Mac + iPhone — real-time sync via LiveSync, changes appear within seconds across devices
- CouchDB on LXC 163 — self-hosted, no subscription, data stays on your hardware
- E2E encryption — notes are encrypted before leaving your device, CouchDB only sees ciphertext
- Google Drive — nightly mirror of all CouchDB data files, automated via rclone
- Auto-restart — full chain restarts automatically on reboot, no manual intervention needed
Media Stack Notifications on Your Phone: Integrating Sonarr, Radarr, Prowlarr, Jellyfin, and Overseerr with ntfy
Wire up the full media stack to send push notifications through apprise and ntfy. Three dedicated topics keep alerts, media requests, and download activity cleanly separated — so you know the moment something breaks, a request is ready, or a download completes.
Proxmox Backup Strategy: Git + HDD + Google Drive
A complete walkthrough for setting up automated, multi-layered backups for your Proxmox home server — config files to GitHub, LXC snapshots to HDD, and offsite copies to Google Drive.